
Creating multi-coloured prints is a cool way to add a whole new level of appeal and sophistication to your 3D printed objects. And believe it or not, creating these multi-coloured prints is not as hard as you probably thought it was!
Important Notes
While creating multi-coloured prints is relatively simple, there are a couple important things to understand in order to achieve the best results.
- You can only change colours in vertical order. Most 3D printers, especially the ones found in education, will only have one extruder. This means you can only print with one colour filament at a time. Colour changes can only occur parallel to the print bed, they cannot occur perpendicular to the bed. In other words, every layer has to be the same colour, you cannot have two different colours on the same layer. (See diagaram below)
- Changing colours is a manual process. While you can take steps to automate the process of changing colours, it ultimately is a manual process. Meaning, you must be nearby the printer to pause the print and change the filament roll at the appropriate time.

Steps to Create Multi-Coloured Prints
1. Decide what model you want to print and make sure the colour change makes sense according to the diagram above.
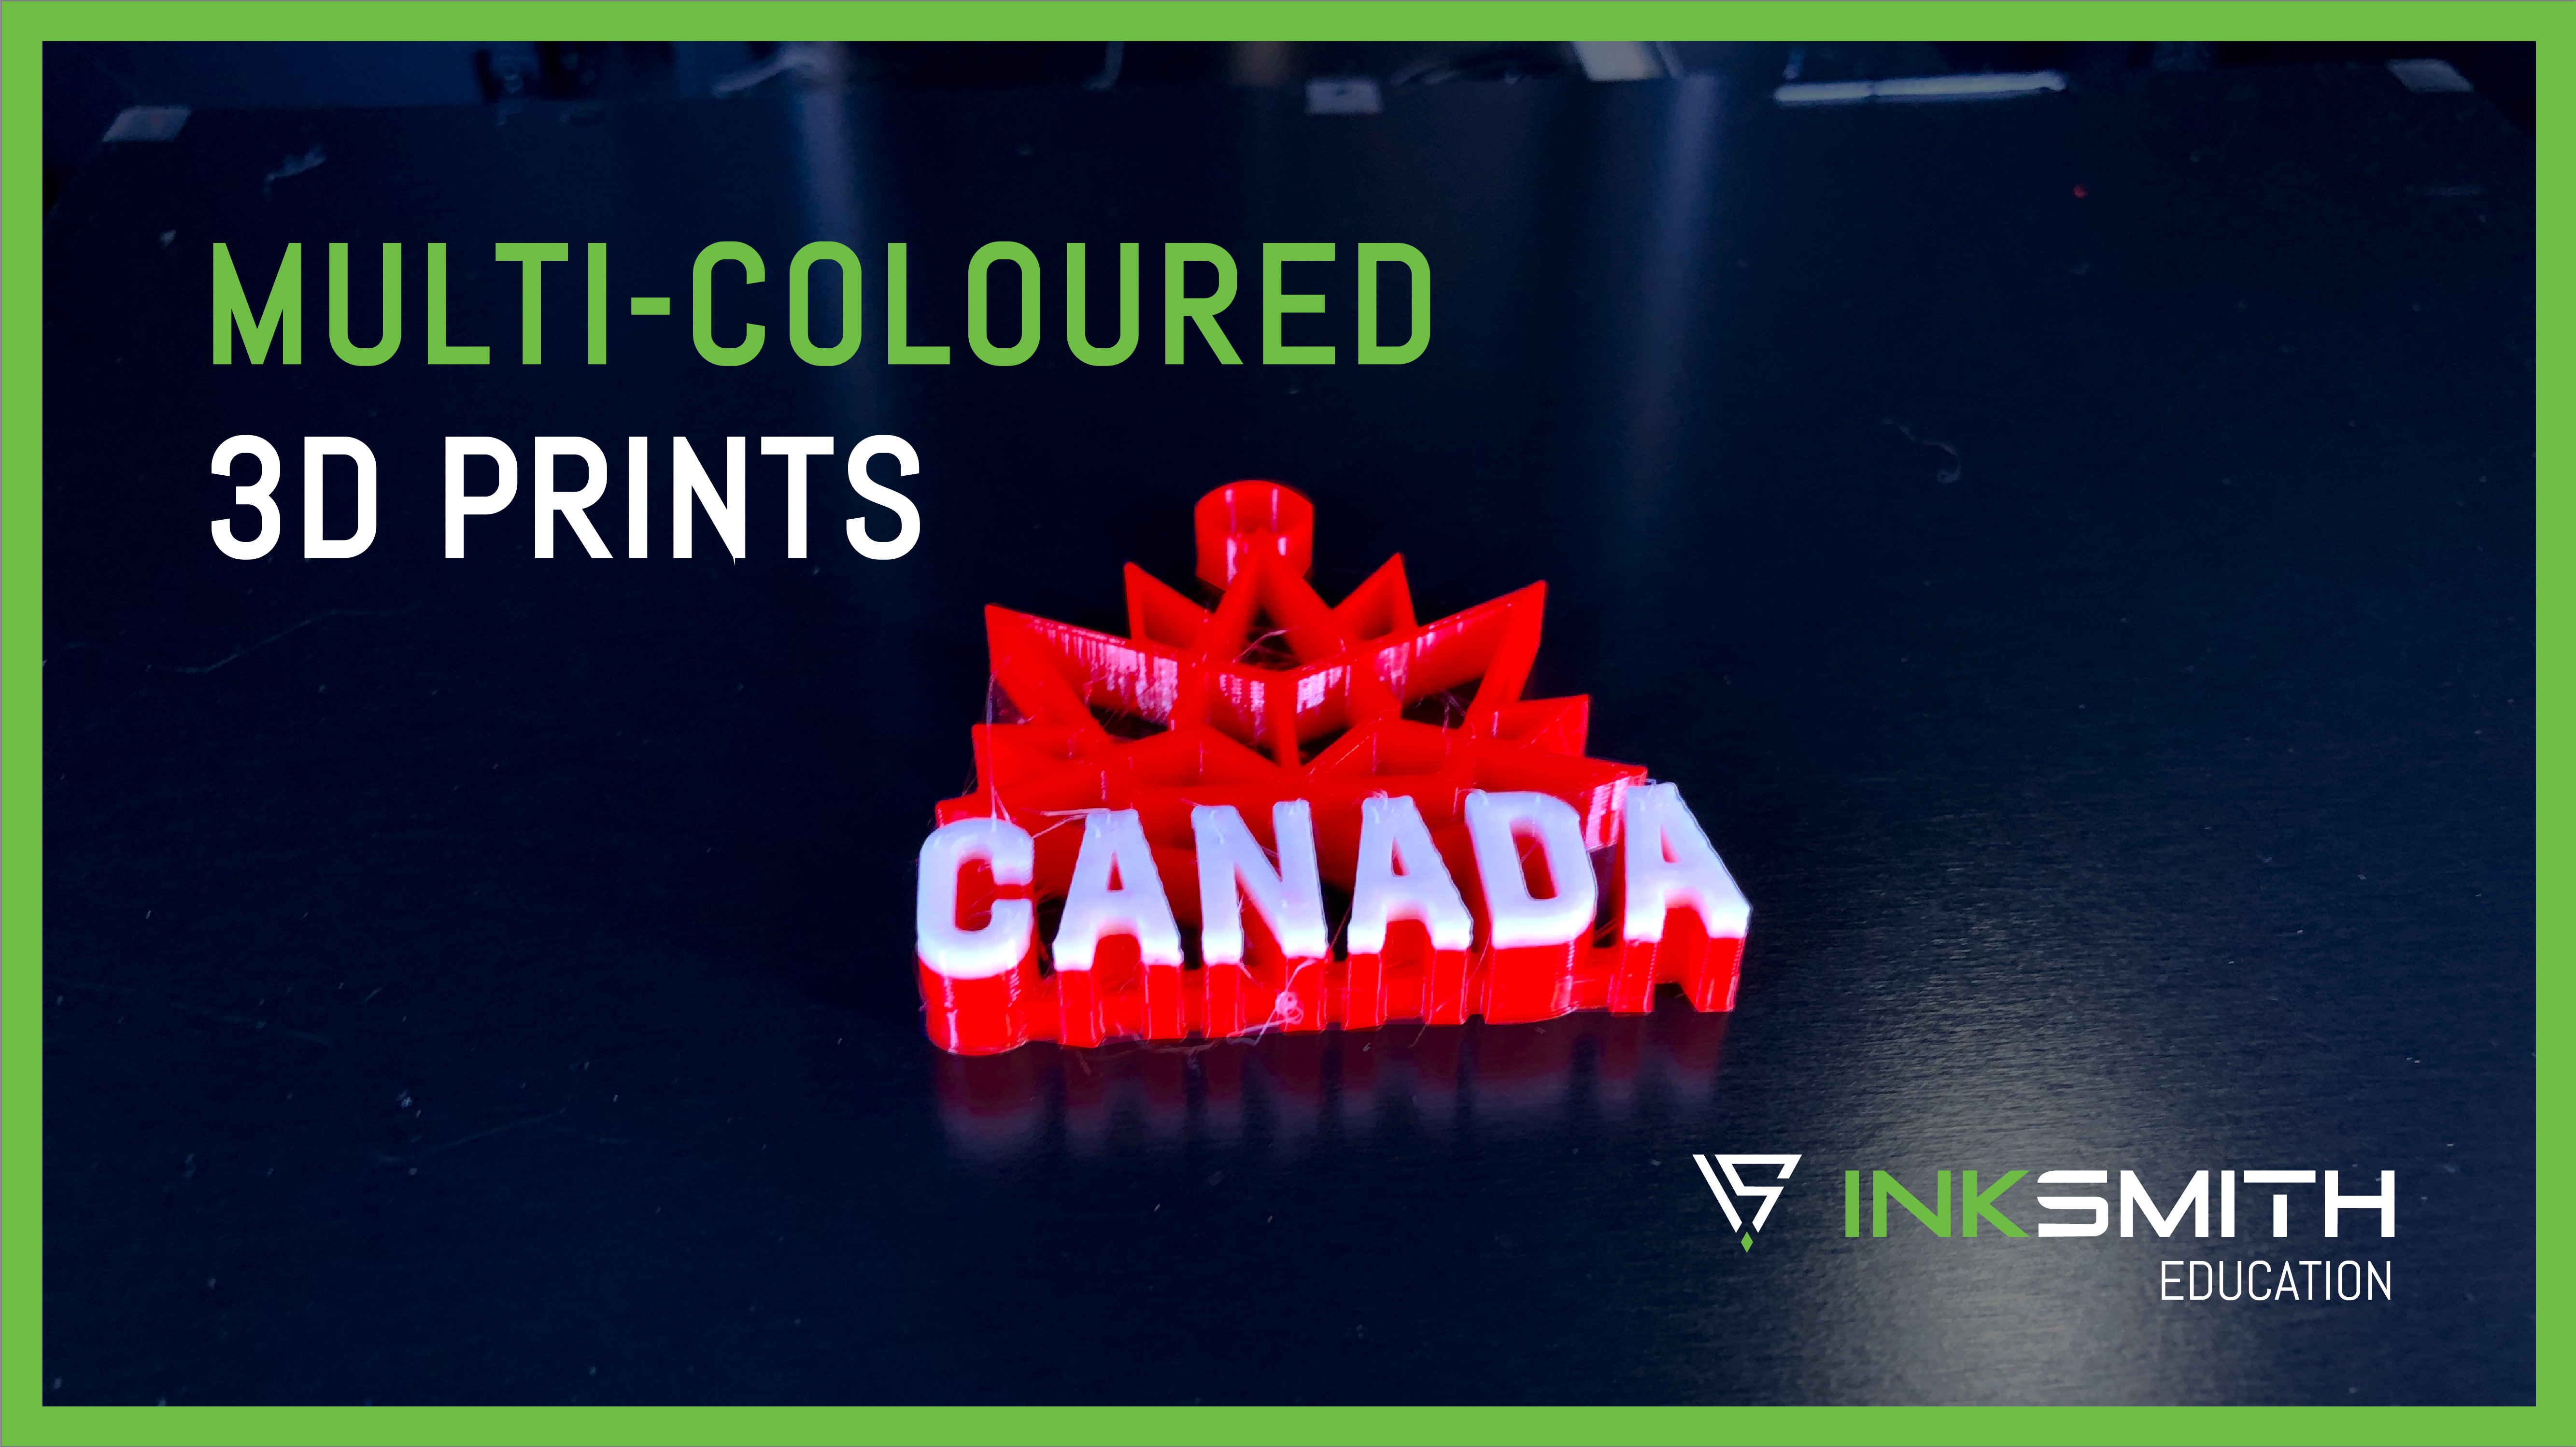
Here's the link to the file we printed: https://www.thingiverse.com/thing:2255651

2. Obtain your STL file and slice it like any other normal file. Not sure how to slice a 3D print file? Check out our tutorial here.
**If you're using the Cubicreator Software please skip to the video below to add an automatic pause to your slice file**

3. Once your file is ready to print, transfer it over to your 3D printer. Make sure your machine is loaded with whatever colour filament you want for the first series of layers.
4. Start printing! If you did not insert an automatic pause with the Cubicreator software, you'll need to manually pause your printer at the appropriate time. It's up to you to watch and make sure the print is paused when it reaches the right layer.

5. Pause your print! Use your printer's control interface and select the 'Pause' button. This will stop your print from printing, but the machine will remember exactly where it left off. Do not hit the 'Stop' button, this will completely end your print and you won't be able to continue.

6. Now you can change your filament colour for the next series of layers. If you have a Cubicon Single Plus or Style, your filament will automatically retract. If you have an InkSmith Orbit, you'll need to select the 'Unload Filament' option from the main menu. Once the old colour is unloaded, you can set up the new filament colour.
7. In order to ensure a clean transition between the different coloured layers, you'll want to perform a purge cycle to remove any leftover filament of the previous colour. To do this select the 'Filament' option, and then hit 'Load'. The printer will start extruding filament, allow it to purge until the new colour filament is completely pure. This may take longer if you're transitioning from a darker colour to a lighter one.

8. After the new colour filament has been loaded you can restart your print by hitting the 'Continue' button. Allow your model to finish printing or repeat this process if you wish to have more than one colour transition.

Adding an automatic pause in Cubicreator
If you're using the Cubicreator software to slice your print file, you can insert a layer pause to automatically stop the print at the appropriate point. This means you don't have to be nearby the print to pause it manually. The print will simply stop when it reaches the pause, you can change the colour and resume the print whenever you are able.
Follow this instruction video to insert this pause.
IMPORTANT TIPS
When using the multi-coloured print method it's important to account for the colour change in your design. This is especially important for prints where you want the text or a particular feature to be a different colour.
As we mentioned previously, each layer has to be the same colour, you can't have two different colours of filament on the same layer. In order to achieve the Canada flag keychain design above, you'll notice that the text has been raised on the design. This way, we could add the white filament colour on top of the red base design.


How to use Cubicreator
Basic 3D Printer Maintenance